How to Remove Pins from a Connector? Save your time and costs! Step-by-step tutorials designed for maintenance engineers and technical teams. With the right tools and techniques, you can avoid common errors, minimize equipment damage, and enhance overall operational efficiency.
- How to Remove Pins from a Connector? The efficacy of electronic and mechanical systems heavily relies on the presence and performance of connectors. They enable reliable transmission of electrical signals or data between devices.
- The pins within connectors are crucial elements for this functionality. Correct insertion and removal of these pins are vital for maintaining connector functionality and extending the lifespan of the equipment. Mishandling of pins can lead to poor connections or equipment damage, thus impacting the overall performance and safety of systems.
- Within this article, you’ll find in-depth guidance on how to safely remove pins from various connectors correctly and efficiently. It will cover the necessary tools, steps, and professional techniques. To help technicians avoid common errors in their daily work and ensure optimal performance of equipment.
Introduction: How to Remove Pins from a Connector?
- In the fast-paced and ever-changing world of technology and industry today. Maintenance and repair have become integral to business operations, especially, for enterprises requiring equipment maintenance and upgrades. Understanding how to swiftly and safely remove pins from connectors has become particularly crucial.
- In this article, we will showcase several simple yet effective pin-removal techniques. They ensure smooth workflow and minimize the risk of equipment damage, whether you’re an electronics engineer or a maintenance technician. We aim to assist you in maximizing efficiency, saving valuable time, and enhancing operational precision. Through specific steps, practical tool recommendations, and some professional tips.
- Let’s explore these methods together, optimize your workflow, and ensure your business operates more efficiently.
Fundamental Concepts of Connectors and Pins: How to Remove Pins from a Connector?
- Connectors are essential components in modern electronic and electrical systems. They facilitate convenient connection and disconnection of various components within circuits, supporting system flexibility and maintainability.
- There are numerous types of connectors, each optimized for particular purposes and situations. Ranging from simple USB connectors to complex multi-pin military-grade connectors.
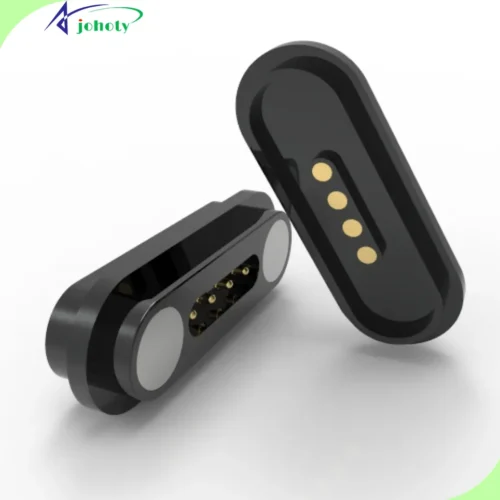
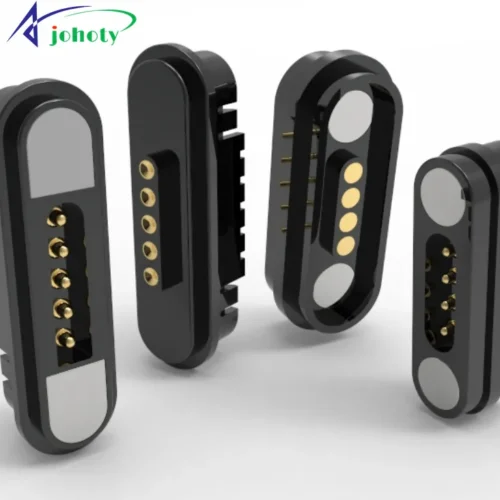
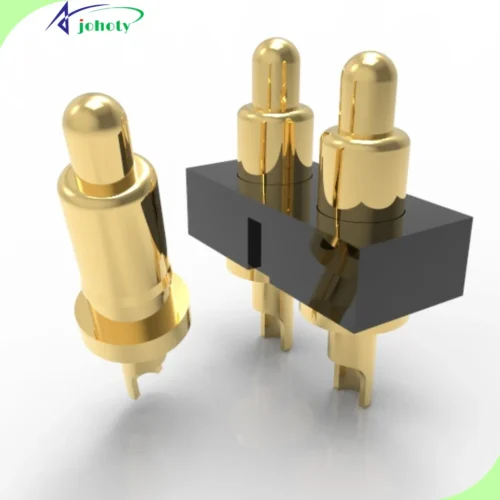
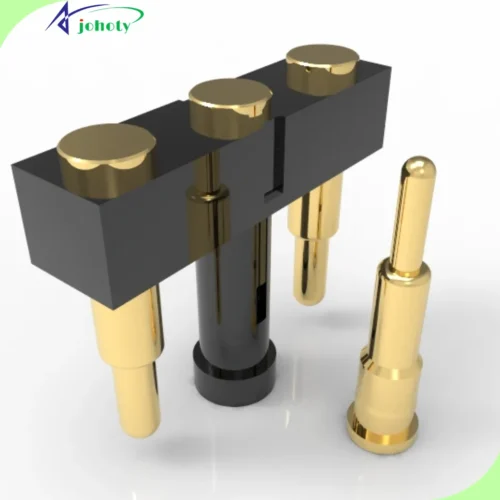
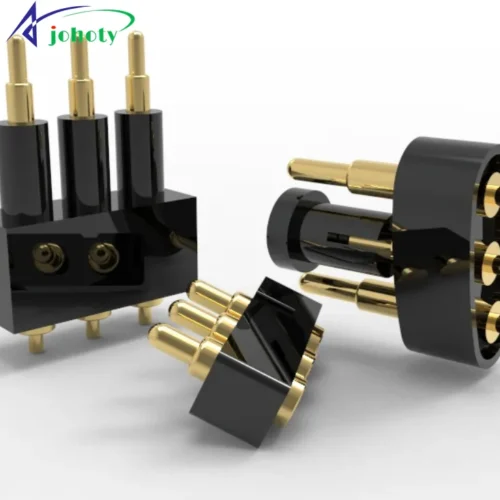
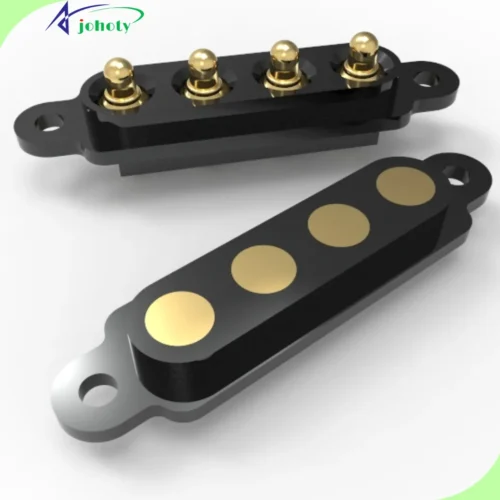
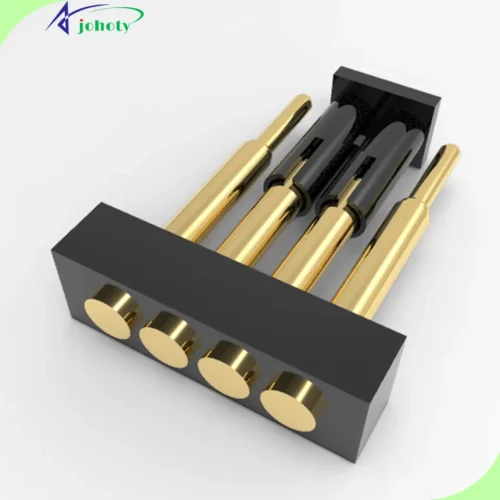
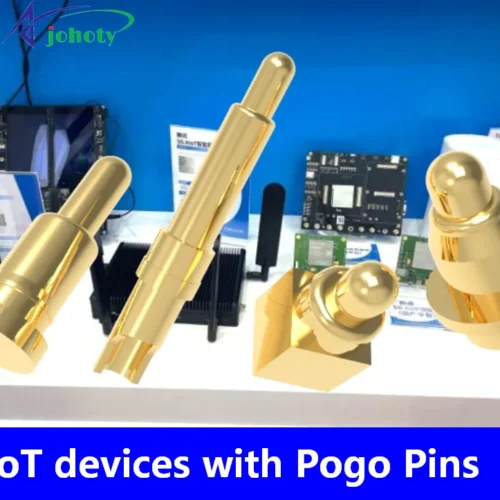
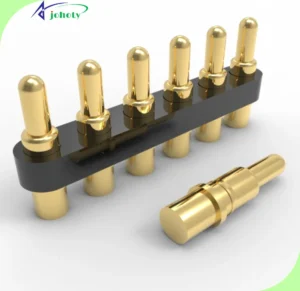
- Pins, also known as contact pins, pogo pins, or spring-loaded pins, are one of the core components within connectors. They are responsible for establishing reliable electrical contacts, guaranteeing effective signal and power transmission.
- The design, material, and size of pins directly influence the performance of connectors, including durability, conductivity, and corrosion resistance. In situations demanding exceptional precision, such as medical devices and aerospace, pin selection is particularly crucial.
In this blog post
- We will delve into how to safely and efficiently remove pins from connectors. Whether during maintenance or upgrades and troubleshooting. By understanding the correct disassembly techniques and tools, you can prevent damage to equipment while maintaining optimal system performance.
Importance of Removing Pins: How to Remove Pins from a Connector?
- In maintaining operational efficiency and ensuring the long-term stability of equipment, the proper removal of pins from connectors plays a critical role. Improper disassembly methods can not only result in immediate hardware damage.
- Such as broken pins and damaged connectors, but can also cause circuit shorts. Thereby increasing repair costs and leading to unexpected downtime.
- For industries reliant on precision equipment, such as medical, aerospace, automotive, and data centers. They can ensure the integrity of connectors and their pins is paramount. These components often reside at the core of critical systems, responsible for transmitting vital signals and power.
- Effectively removing pins ensures that these sensitive electronic components maintain their functionality and efficiency during maintenance, upgrades, or replacements. Thus ensuring system safety and reliability.
Furthermore
- Mastering the correct pin removal techniques can also help companies enhance employee skill levels. Reduce reliance on external services, expedite repair and upgrade processes, and ultimately maximize cost-effectiveness.
- Here, you’ll discover a range of simple yet impactful techniques to assist technical teams in properly handling pin removal. Avoiding common mistakes, and improving overall operational precision.
Necessary Tools and Materials: How to Remove Pins from a Connector?
Pin extraction tool:
- This is a tool specifically designed for safely removing pins. Featuring a fine tip that can easily be inserted into the small holes of connectors. And accurately grip the pin head for extraction. Choosing a high-quality pin extraction tool can minimize damage to the connector.
Precision tweezers:
- Used for manipulating pins in crowded or hard-to-reach spaces. High-quality tweezers provide necessary precise control, especially when dealing with tiny or densely arranged pins.
Anti-static wrist strap and mat:
- Preventing static buildup is essential when handling any electronic components. Employing an anti-static wristband and conductive flooring can protect sensitive electronic elements from the effects of static discharge.
Magnifying glass or microscope:
- Magnification tools are indispensable when examining small connectors and pins. They can help technicians identify and accurately handle each pin, especially in high-density electronic assemblies.
Lubricant:
- In certain situations, a small amount of specialized electronic lubricant can help facilitate easier removal or insertion of pins.
While also protecting metal surfaces from corrosion or wear.
Removal Procedure: How to Remove Pins from a Connector?
One: Preparation
- Turn off equipment power: Ensure all relevant equipment is powered off to prevent electric shock or damage.
- Clean the work area: Use a lint-free cloth to clean connectors and surrounding areas to prevent dust particles from affecting the removal process.
- Employ anti-static gear: Equip yourself with an anti-static wristband to protect electronic components from static-induced damage.
Two: Pin Localization
- Use magnification equipment to inspect pin positions: Utilize a magnifying glass or microscope to precisely determine the location and condition of pins to be removed.
- Mark sensitive pins: Mark particularly tiny or fragile pins for special attention during the removal process.
Three: Using Tools to Remove Pins
- Choose the appropriate pin removal tool: Select the suitable pin removal tool based on the size and type of pins.
- Insert the pin removal tool: Carefully insert the pin removal tool into the contact point between the pin and connector.
- Gently pull out the pin: Stabilize the wrist and apply even force to pull out the pin. Avoid using excessive force to prevent damage to the connector or pin.
Four: Inspection and Cleaning
- Inspect the connector: After removing the pin, check other parts of the connector for damage or wear.
- Clean the work area: Use compressed air to eliminate dust and debris from both the connector’s interior and exterior surfaces.
- Test the connector: If the connector needs to be reused, conduct a functional test to ensure everything is in working order.
Five: Documentation and Feedback
- Document the removal process: Detailed documentation of the removal process and any issues discovered is crucial for future maintenance work.
- Provide feedback on issues: If any unusual issues arise during the removal process, provide timely feedback to the team and document potential solutions
Common Mistakes and Their Prevention: How to Remove Pins from a Connector?
1: Improper Tool Usage
- Use tools specifically designed for pin removal, such as dedicated pin extractors or precision tweezers. Opt against utilizing tools that are too bulky or unsuitable, as this may cause pins to bend or break.
2: Excessive Force
- Apply even and gentle force when removing pins. Excessive force can damage the pins or the connector itself. If pins are difficult to remove, use a small amount of non-conductive lubricant first.
3: Ignoring Anti-static Measures
- Before handling any electronic components, always use an anti-static wrist strap or mat. This prevents static discharge and protects electronic equipment from damage.
4: Failure to Properly Identify Pin Types and Orientations
- Before attempting removal, carefully examine the connector and pins for their types, orientations, and layouts. Incorrect identification may lead to improper removal methods, increasing the risk of damage.
5: Lack of Adequate Training
- Ensure that all technicians performing such tasks receive proper training. Familiarity with the correct disassembly and maintenance procedures for specific equipment is crucial in preventing operational errors.
6: Failure to Conduct Post-removal Inspection and Testing
- After removing pins, visually inspect and conduct functional testing. The objective is to ensure that all components are still operating effectively and the connections remain stable. This helps in early detection and repair of potential issues caused by disassembly.
Use Case: Optimizing Connector Maintenance in Automotive Manufacturing Lines
Background:
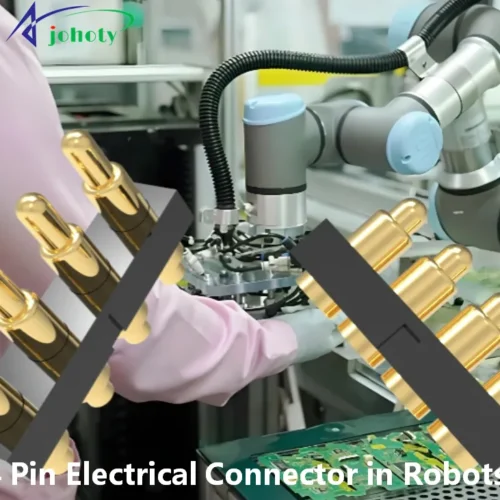
- Customer is a leading automotive manufacturing company. Their automated robots on the production line frequently require maintenance and replacement of electronic components.
- This involves a large number of connectors and pins. In the past, equipment damage and production delays often occurred due to a lack of effective pin removal techniques.
Challenges:
- Complex connector designs that standard disassembly tools struggle to accommodate.
Maintenance teams lack specialized disassembly training. - Frequent occurrence of pin damage during disassembly, increasing maintenance costs.
Solution:
- Customized disassembly tools: Collaborate with tool suppliers to develop customized pin extraction tools tailored to their specific connectors.
- Professional training: Implement regular professional training courses for the technical team, focusing on the proper usage of new tools and disassembly techniques.
- Implementation of anti-static measures: Install anti-static facilities in all maintenance work areas. It ensures sensitive electronic components are not damaged by static electricity during operations.
Results:
- Disassembly efficiency improved by 30%, significantly reducing equipment downtime.
- The pin damage rate decreased by 70%, substantially lowering maintenance costs.
- By reducing equipment failures, overall production line efficiency has been enhanced.
Feedback:
-
Maintenance Department Manager: “After introducing customized tools and professional training from Johoty, we can now swiftly and safely address any pin-related issues. Which has played a critical role in elevating the productivity and stability of our production line.”
Conclusion: Enhancing Your Maintenance Efficiency and Equipment Lifespan
The correct pin removal techniques not only affect maintenance efficiency but also directly impact your equipment’s performance and lifespan. By adopting the methods and tools introduced in this article, you can significantly reduce equipment failures and optimize the operation. This helps in retaining a leading position in the market.
We encourage all maintenance teams to continuously explore and implement these techniques. To secure accuracy and productivity of technical operations. If you encounter any challenges during the pin removal process or require further professional advice. Please contact our CFT team immediately. We deliver individualized training and consulting programs. It is to help you address specific issues and enhance the professional skills of your maintenance team.
Let’s work together to continuously ensure your equipment operates at its best and drives the continued advancement of your business.

