Here’s a thorough introduction to the challenging and vital skill of soldering wires to connections. The ability to securely and properly connect wires to connections is essential for enthusiasts, hobbyists, and professionals alike in today’s interconnected world, where electronic devices fuel our daily lives.
Moreover, this guide is here to help you through the procedure step by step, whether you’re a DIY electronics enthusiast starting a new project or an experienced expert seeking flawless connections.
Creating a strong and trustworthy bond that allows the uninterrupted passage of power, data, and signals is the goal of soldering, which goes beyond just joining two pieces of metal together.
A thorough understanding of soldering procedures will help you realize your ideas in this era of quick technological improvement when invention and creativity are valued highly.
What Are Soldering Wires?
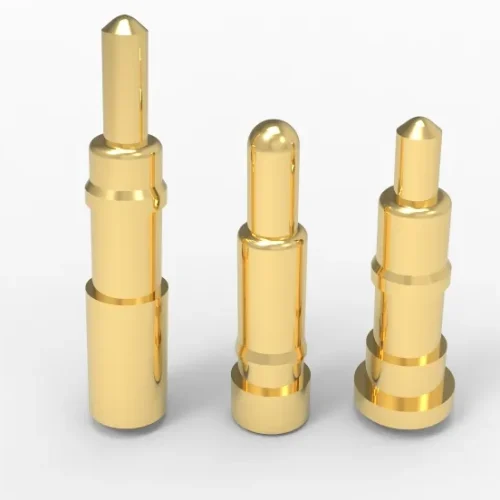
The process of attaching electrical wires to different types of connectors using solder, an alloy of metals that melts at a low temperature and solidifies to produce a strong and conductive link, is soldering wires to connectors. This method is frequently employed in electronics, electrical engineering, and numerous others where trustworthy and secure electrical connections are crucial.
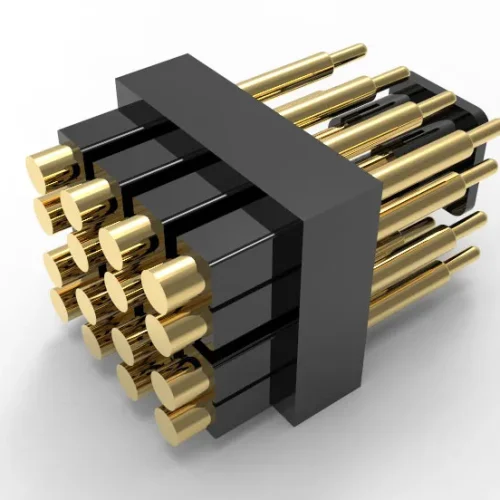
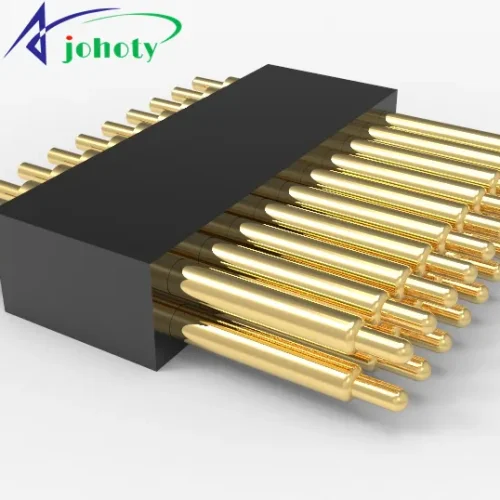
Connectors are components that connect two or more electrical conductors so that electrical signals, power, or data can be transmitted. They are available in various sizes and shapes, from straightforward plugs and jacks to complicated multi-pin connections in complex electronic systems.
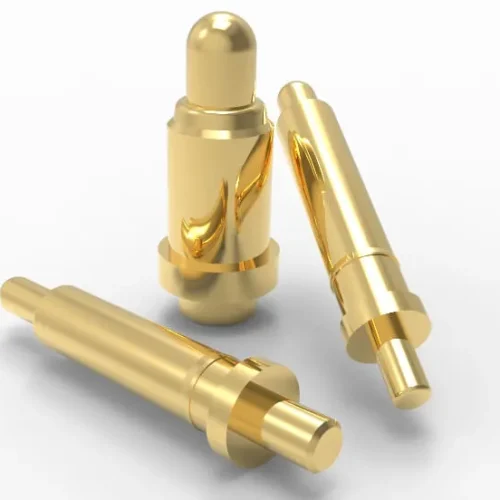
When connecting wires to connectors, solder is applied at the junction point after the wires and connection terminals have been heated to the proper temperature.
A tight and conductive bond is formed when solder cools and hardens, guaranteeing a strong electrical connection that is resistant to movement, vibration, and the effects of the environment.
Due to the possibility of signal deterioration, power loss, and even safety risks, this procedure is essential for assuring the operation and dependability of electrical systems.
Mastering the technique of soldering wires to connectors is a vital skill that may elevate your work to a professional level, whether you’re working on a DIY electronics project, fixing appliances, or creating complicated electronic circuits.
10- Step Guide For Soldering Wires To Connectors
You’ll Need These Tools and Materials:
- Iron for soldering
- For safety, lead-free solder is advised.
- Wire cutters
- Electrical tape or heat-shrinkable tubing (for insulation)
- Soldering holder or stand
- Clamps or helping hands (optional but useful)
- Flux, which is optional but helps the solder flow
- Cutters for wire
- Safety glasses are recommended for your eyes.
- A ventilated work area (for the spread of fumes)
Step 1 – Set Up Your WorkStation:
Make sure your workspace is spotless, well-lit, and ventilated. Safety must always come first, so wear your safety glasses and get the required supplies and tools.
Step 2: Strip the Wires:
Carefully take between 1/4 and 1/2 inches of insulation off the ends of the wires you’re connecting using your wire strippers. Avoid damaging the wire strands at any cost.
Step 3: Prepare the Connector:
Loosen any screws or clamps if your connector has them to make room for the wire. Check to see if the connector’s pins or terminals are clear of debris and clean.
Step 4: Apply Flux (Optional):
Applying a small amount of flux to oxidized or challenging-to-solder surfaces can increase solder flow and aid in forming a solid bond. Apply flux with a tiny brush or applicator.
Step 5: Tinning the Iron:
Your soldering iron should be hot before you “tin” the tip by melting some solder onto it. When soldering, this facilitates heat transmission and solder flow.
Step 6: Heat the Connector and Wire:
To heat the connector terminal and wire, briefly press the tip of the tinned soldering iron against them. By doing this, the wire, connection, and solder are properly bonded.
Step 7: Apply Solder:
Connect the solder to the joint once the connection and wire are hot. The solder should flow around the junction after melting due to the heat, forming a strong connection. Use a tiny vice to hold the connector in place.
You’ll hold the soldering iron in one hand and the wire in the other. Place the soldering iron tip to the connector pin now, ensuring the contact is as maximal as possible.
The solder will melt once the connecting pin reaches a sufficient temperature. To enclose the wire, the pin’s inside surface should be covered in solder. However, avoid overfilling the pin with solder to prevent spillage.
Step 8: Let It Cool:
Allow the solder to cool and harden naturally. Don’t move the wires or connector during this period to guarantee a solid bond.
Step 9: Insulate the Connection:
To provide insulation and strain relief, place a piece of heat compress tubing over the soldered joint and shrink it using a heat gun. As an alternative, you can insulate the joint with electrical tape.
Step 10: Test the Connection:
Make a comprehensive inspection to ensure no exposed connections, loose wires, or shorts before everything is finished. You can secure the connector back in place (if necessary) if the connection appears to be secure.
Your soldering abilities will advance with experience, resulting in cleaner and more dependable connections. Keep in mind that for results that are of a professional calibre, precision and patience are essential.
Conclusion:
Finally, learning how to solder wires to connectors provides opportunities in electronics, do-it-yourself projects, and technical repairs.
In our interconnected world, maintaining the smooth flow of power, data, and signals requires the capacity to build secure, long-lasting, and dependable connections.
We’ve looked at the nuances of the soldering procedure in this step-by-step tutorial, from setting up your workspace to insulating the last connection.
Keep in mind that expertise and practice will help you become a better solderer, producing cleaner and more reliable results. Moreover, you can get in touch with Johoty to conquer all your DIY electrical needs.
FAQs
How do you solder wire ends?
- Get the wire ready. The bare wire must be used for tinning.
- Get the soldering iron ready. The soldering iron should be plugged in, turned on, and allowed to heat up.
- The wire should be covered in solder. Straighten the solder as you extend it from the spool.
- Allow the wire to cool. Examine the outcome after allowing the solder to cool.
Can you solder electrical connectors?
The connector pin is the component that requires the least amount of preparation because no insulation needs to be removed. Ensure your connection is solid, and use your soldering iron to tie both wires before connecting them. Flux facilitates adhesion.
Is soldering the best way to connect wires?
When carried out by skilled professionals, the two most popular joining techniques—soldering and crimping—deliver high-quality, long-lasting connections.
Still, there is ongoing disagreement about which is superior. Although each has a valid case, crimping is preferred for most applications.